Sunday, February 25, 2007

Build Day 76 & 77.....Another Weldathon

I've spent most of the weekend welding up the suspension and diff bracketry that I'd tacked on earlier. I also did some work on the rear shock mountings and added some further bracing at the front of the chassis.

Friday, February 23, 2007

Build Day 74 & 75.....Rear Diff Mount

Made some good progress over the last two evenings. The most work has been on fabricating and tacking on the rear diff mountings:


I've also added these curved pieces to the chassis which are to follow the line of the bodywork:

Wednesday, February 21, 2007

Build Day 73....Rear Suspension

Moved to the rear suspension today. Made up and welded on the trailing arm brackets:


I was then able to temporarily assembly the rear suspension system, complete with de-dion axle:


This allowed me to position and tack on the chassis side bracket for the panard rod. Note also that the other side of the panard rod is not attached to the de-dion. I will need to cut off the bush tube at that end and replace it with an adjustable spherical rod.

You can also see that I've put the differential into it's intended position:


The reason for this is so that I can start fabricating brackets to hold it in place.

Monday, February 19, 2007

Build Day 72.....Front Shock Mounts

Managed an hour tonight in the garage. Lined up and tacked on the front shock mounts:

Sunday, February 18, 2007

Build Day 71.....Top Suspension Brackets

Had quite a productive day in the garage today. Firstly, I created a new jig for positioning the top suspension brackets:


This jig bolts to the bottom brackets, then can swing up to align the top ones. First to be tacked on is the top front brackets:


Then, with the wishbone in situ to get the correct gap, the second bracket is positioned. Also, the 'FU' tubes, which I made earlier on, are now also positioned and tacked into place. The brackets are then tacked on to these tubes:


And here is the final result. All brackets in place:

Friday, February 16, 2007

Build Day 70.....New Upper Wishbone Brackets

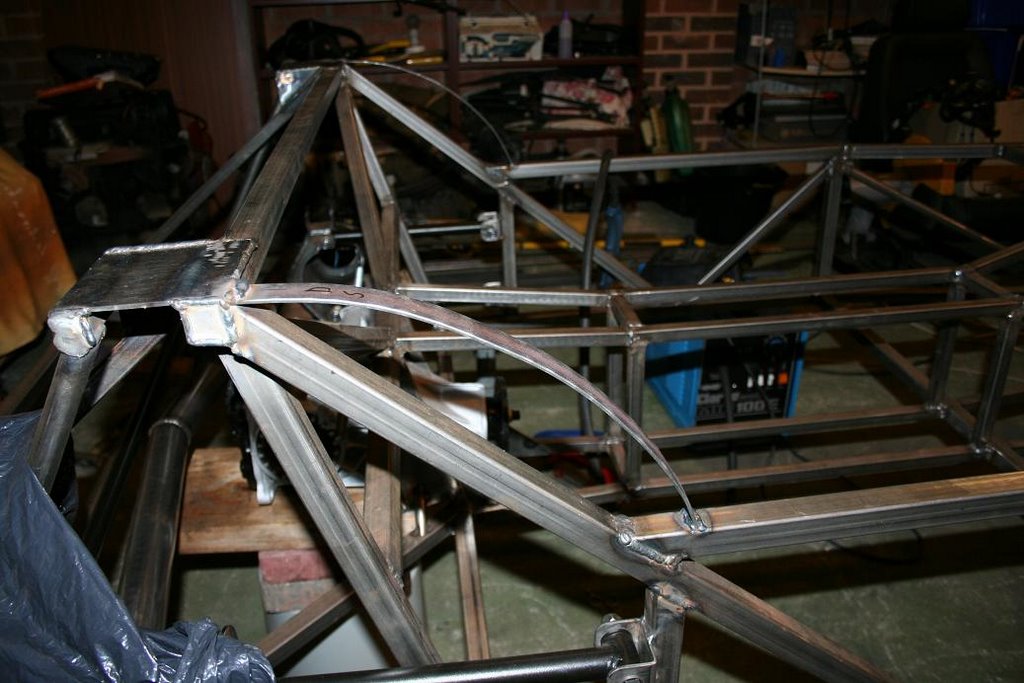
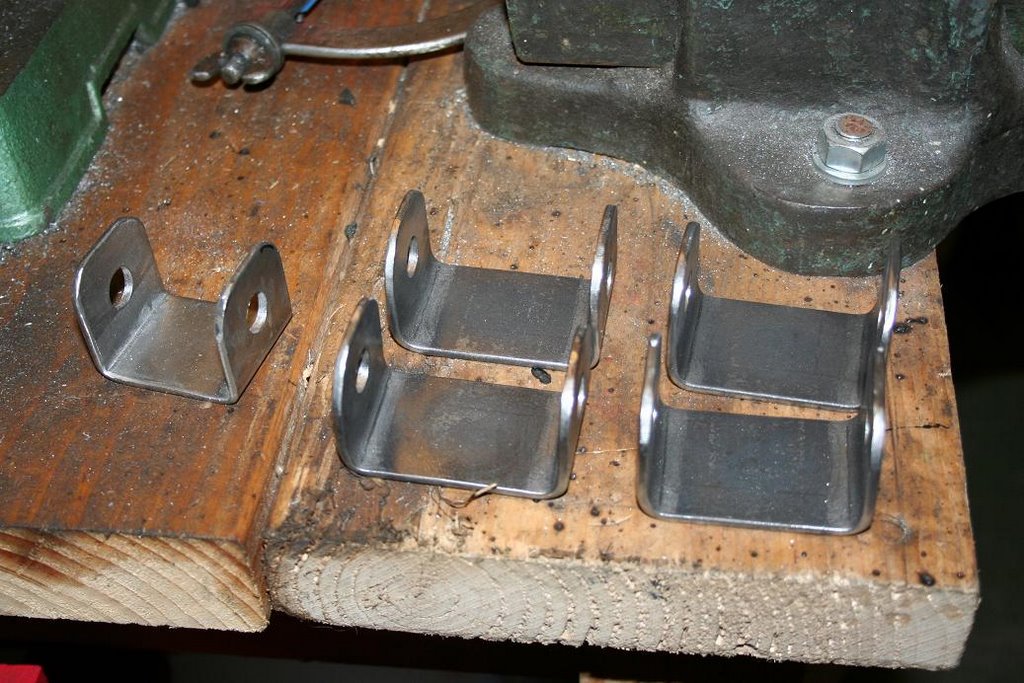
I decided that before I mounted the top wishbone brackets, a small adjustment to the bracket design was called for. What I've done is made up some new ones which are a little longer than the originals:


You can see an original sized one on the left. Obviously, now the brackets are too big for the wishbone. This gives the ability, by packing out with washers, to make adjustments to the position of the top wishbones backwards and forwards. In doing so I have a level of adjustment to the castor. Castor was the only part of the front suspension that was fixed, and this was bothering me. I will now be able to play with castor, camber, toe-in/out, ride height and damping.

The original ones won't go to waste either as these will now be used for the top shock mountings (which I hadn't got round to making yet)

Sunday, February 11, 2007

Build Day 68 & 69.....Lower Front Wishbone Brackets

I didn't get too much time in the garage this weekend, but I was able to complete the jig for mounting the lower wishbones. I then used it, after first lining it up carefully with the centreline of the chassis, to position and tack on the brackets:


After removing the jig, you can see that everything is all nicely lined up:


The next step will be to build a new jig to possition the top brackets.

Wednesday, February 07, 2007

Build Day 67.....Bits and Bobs

Had some time to do a few bits and bobs on the car today. Put some more coats of paint on the wishbones. I also started putting together the jig for the alignment of the bottom wishbone brackets.

Here's how the wishbones are looking:

I've been doing the painting in the spare bedroom as it's bloody cold in the garage and I'm not sure the paint will cure very well in sub-zero temperatures. It's also fairly safe to do it in the house as the paint is water washable, should it end up anywhere it shouldn't.

Oh, and I forgot to say, I won that clutch on ebay for £9.99 + postage. Far better than the £120+ the local shop wanted for the SD1 one.

Sunday, February 04, 2007

Build Day 66.....Which Clutch?

I seem to have been very busy with work and other things lately, but I finaly got to spend some time on the car this afternoon, after first spending the morning fixing my everyday car :(

I've decided the paint I was testing (here) was up for the job. Not the best finish when brushed on, but it's very strong/hard wearing, can be used without a primer, and you can wash your brushes in water afterwards. So, I've prep'ed and started painting the front wishbones. The first coat is now on and looks OK.

Also spent time refining the design for the gearbox adapter. Now the original gearbox was a Honda unit using a 24 spline input shaft, whereas the type-9 gearbox from the sierra donor is 23 spline, so I needed to find a clutch friction plate that will fit the original clutch mechanism, but have 23 splines.

After some research I thought I’d found one. It's a plate used on 2.3 and 2.6 Rover SD1s and also on some Sherpa vans.

I went to my local motor factors and they can get hold of one, but only as part of a full kit – along with a full kit price :(

Having then posted my problems sourcing such a plate on the Locost builders forum (here), it was suggested I could in fact use a slightly smaller clutch plate (something like that used in a Mondeo). This seems a much better bet as these are much more readily availably. I've already put a bid in for one on ebay - and as I type, I am winning on £9.99

Fingers crossed :)